Quickstart
Streams Wizard
Our Streams product supports users to create new video streams via UI wizard or API.
You will need an account with a valid Streams trial or subscription. Sign up here if you don't have an account yet.
Learn how to interact with our API:
For more details check out our API reference.
Here is how to get started inside the dashboard:
Step 1: Navigate to Streams page
Follow this link or navigate manually to the Streams page via the sidebar navigation.

Step 2: Create Streams button
If there are no Streams created yet you will find a prominent button in the middle which will lead you to our UI wizard or use the "+ Create Streams" button in the banner on top to get to the wizard.
If there are no Streams created yet you can choose between video - or live Stream creation option. Alternatively, you can also click on the POST api call label on the top right corner and copy the curl command to create a video Stream.

Step 3: Upload your video
Drag & Drop your video file or select the "Choose a file" button to open your file explorer to upload your video content. If you just want to test out our product, we provide some default choices on the left to be selected to continue the process.
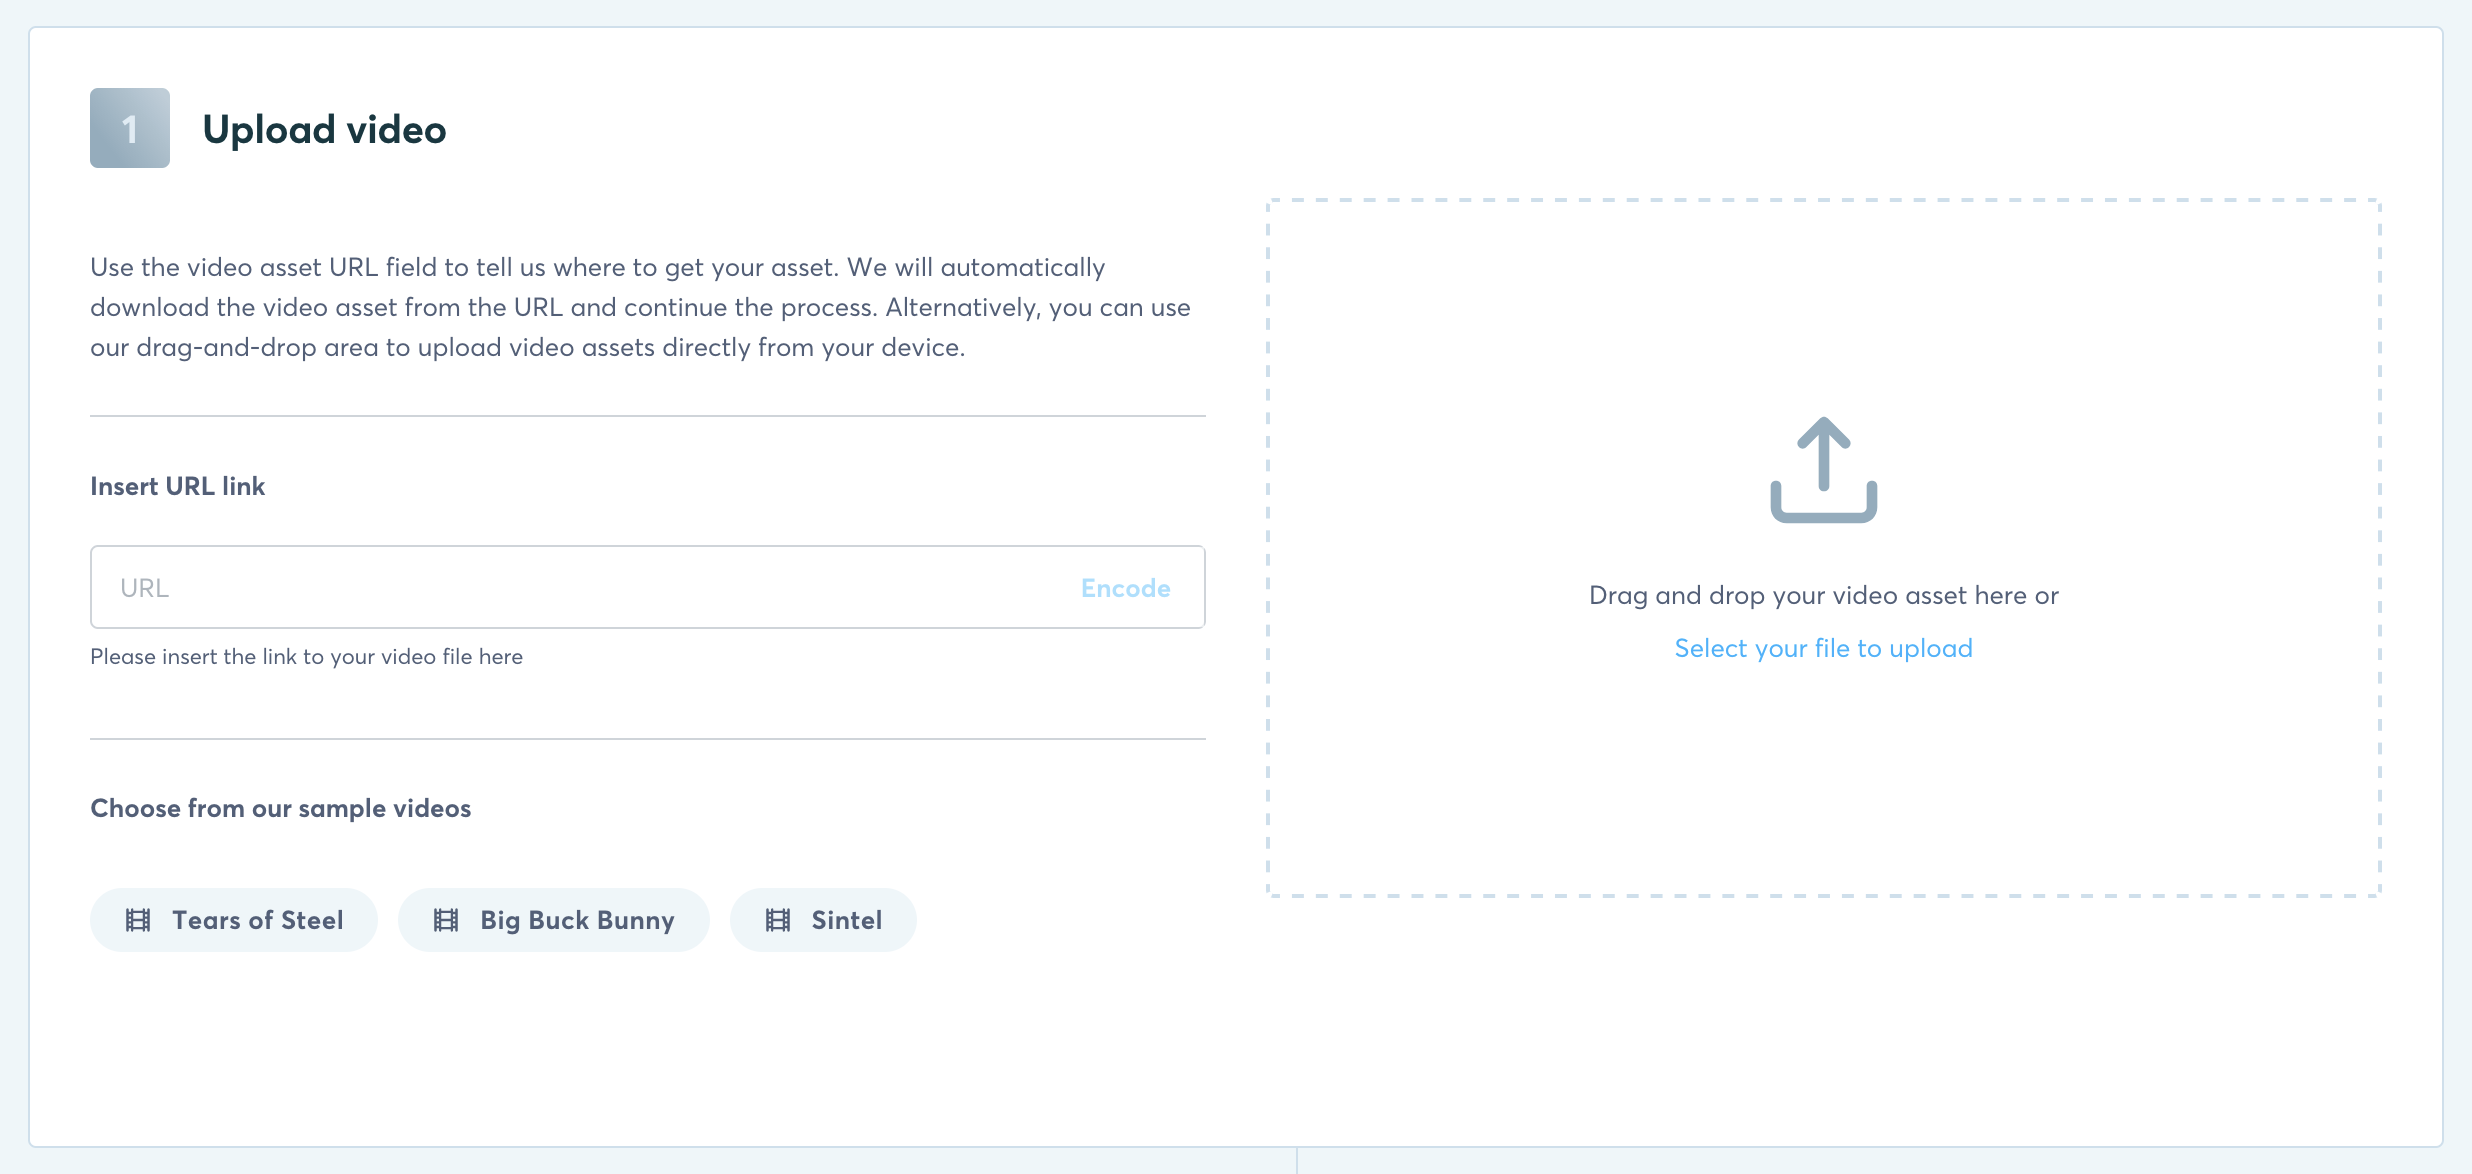
Uploading your video or paste the HTTP URL. When linking existing manifest, we won't encode them.
Size limitation of 5GBThe upload supports file sizes up to 5GB only. For files that are bigger than 5GB please use the "Asset URL" to upload a file.
Once the upload is finished we will trigger an Encoding and transcode your content in the highest possible quality and upload the output on our Bitmovin CDN. With our zero-waiting workflow concept, the Encoding will take time but won't prevent you from continuing on the next step to embed already our Player code. Scroll down and continue with step 4.
Step 4: Embed your code
We auto-generate the player code for you and provide you with a web component that can be easily integrated into your page. Click on the "Embed" tile and copy & paste the code into your page and already get started to run your first video.
Note: In the beginning, you will see some generic waiting video being displayed while the real Encoding is still progressing. No worries, once the Encoding is done we will automatically update the content and our Player will poll the real Encoding without any further action needed.
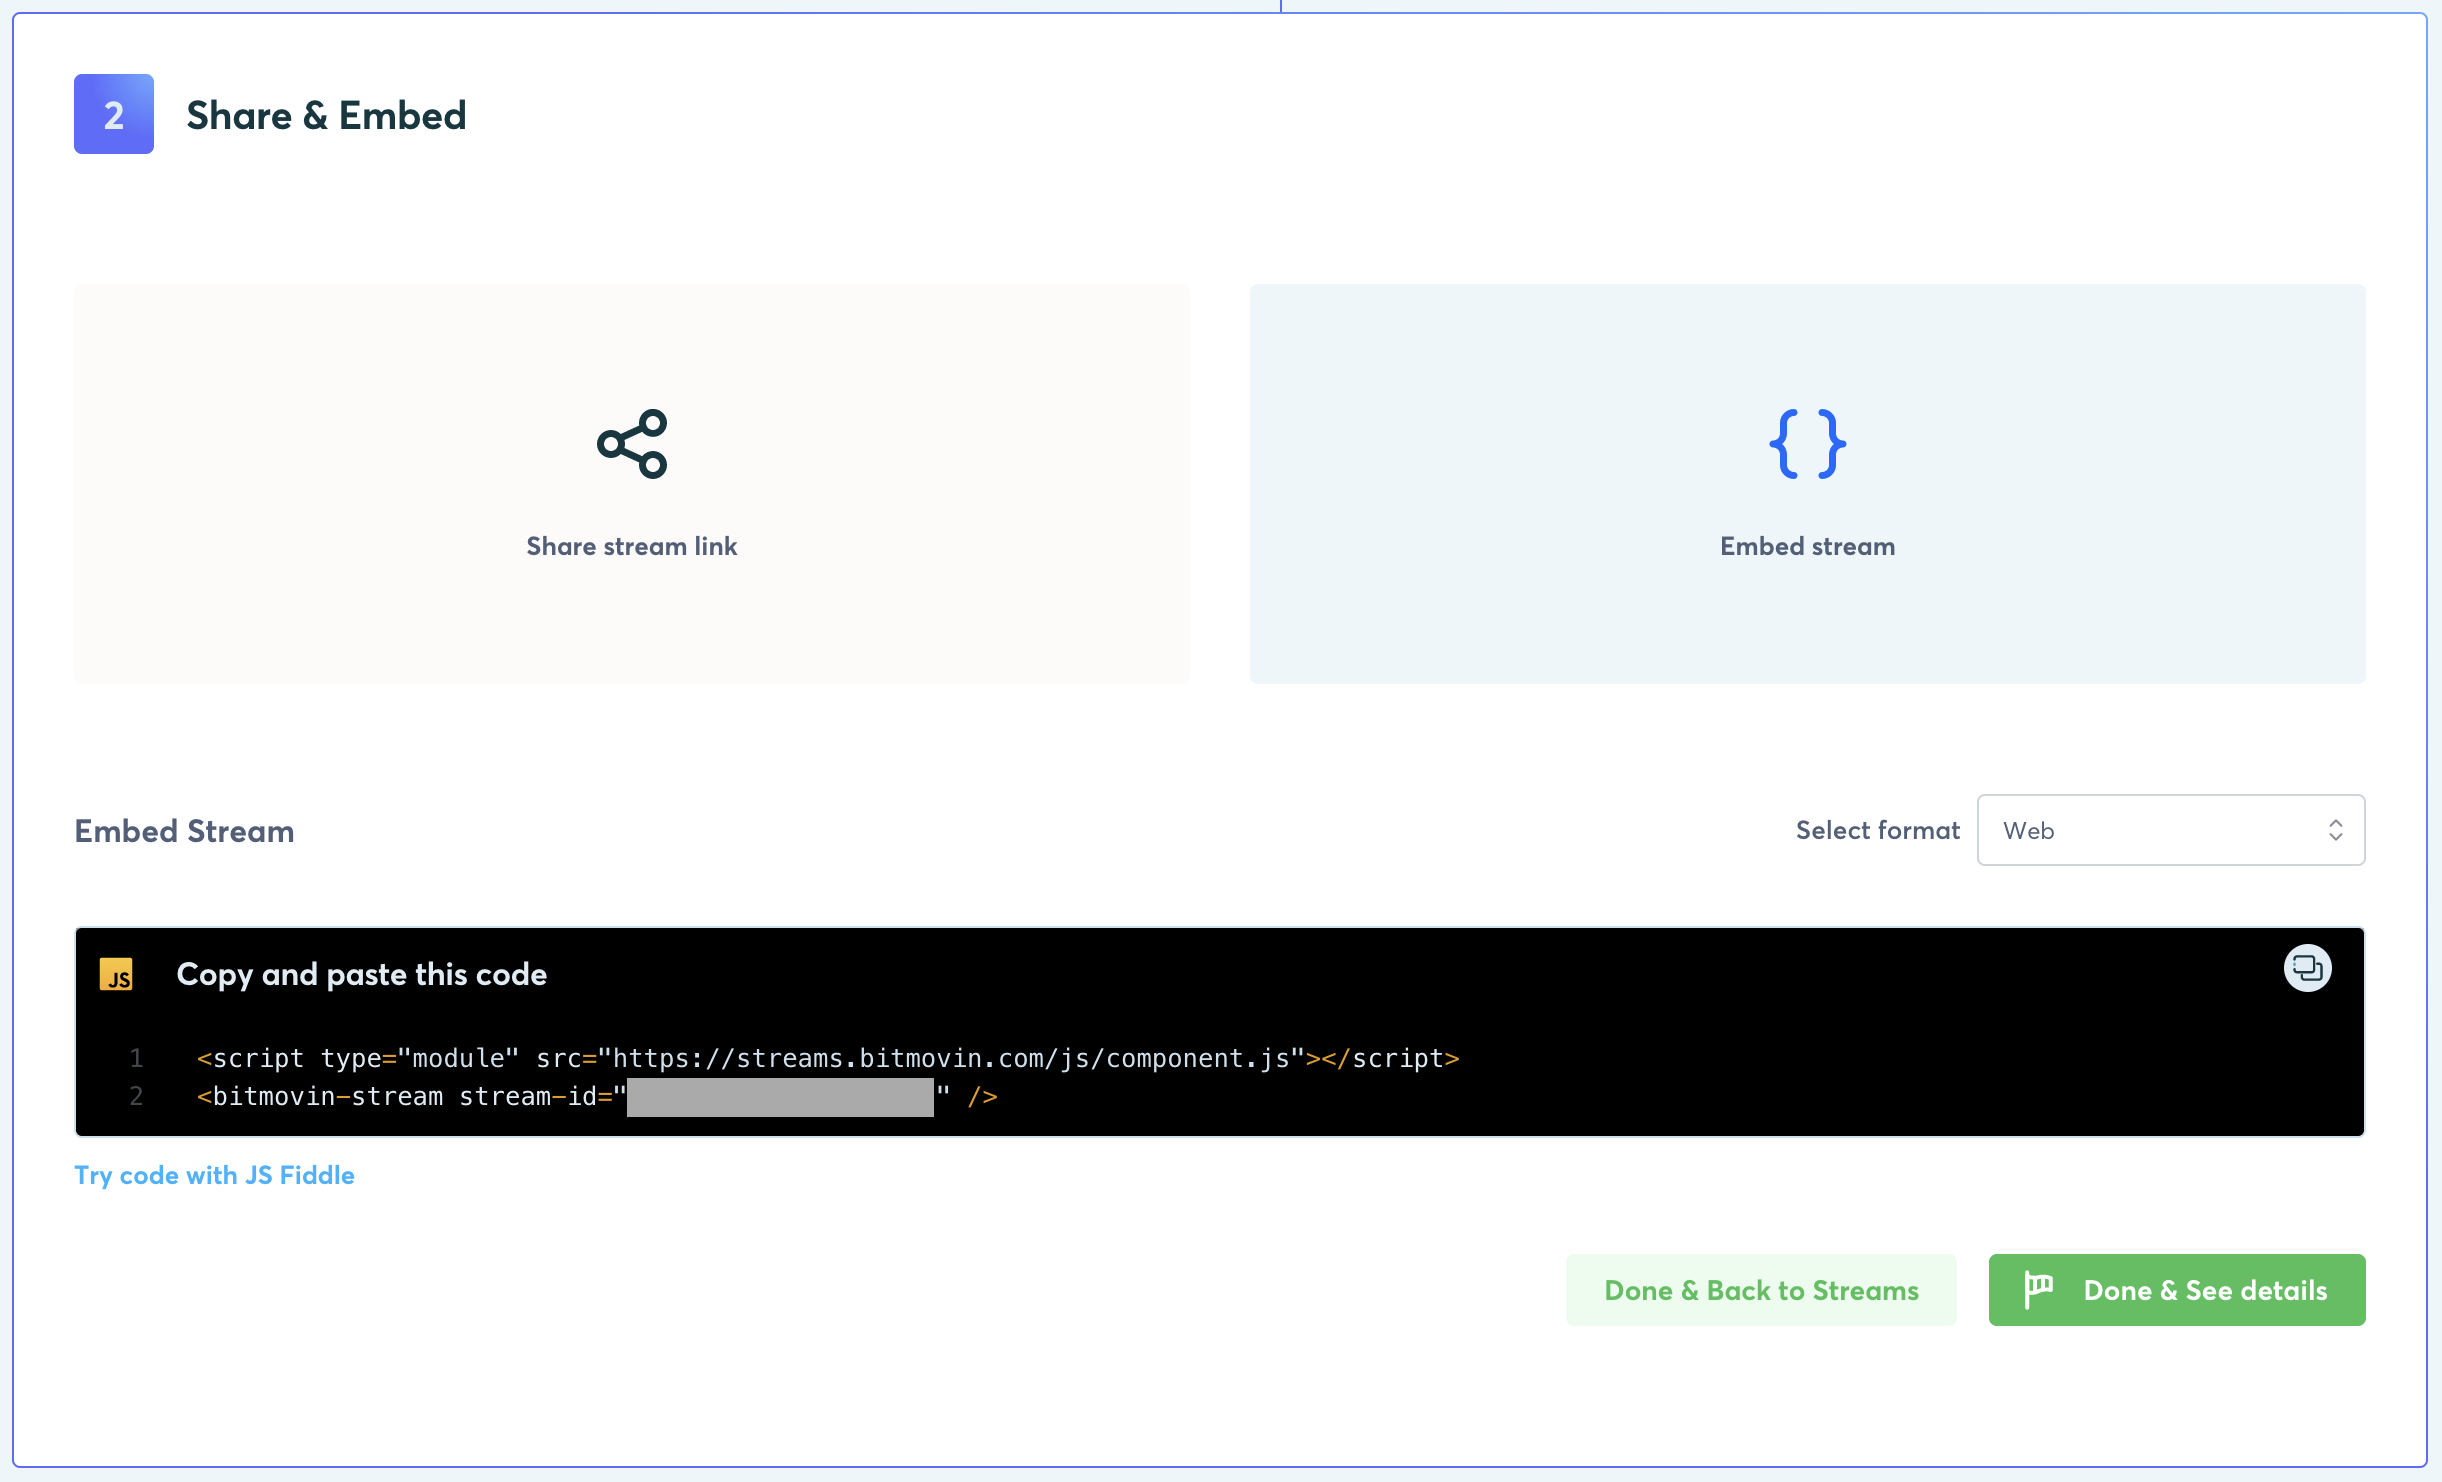
Alternatively, you can also share your video via our Streams sharing link and don't need to embed it via code immediately 💡.
Note: You can also access both options later on the Streams' details page.
👍 Awesome Work!Now that you have successfully set up a Stream on your website and run some video impressions, you can enjoy more data under our "Performance" tab in the Streams' details.
If you face any issues always feel free to reach out to our community and ask for help.
Final Step: View your data
Below you will see an example of the metrics which we will automatically filter for your selected Stream. If you want to learn more about how to analyze your users behavior check out: Measure your Streams performance

Updated 26 days ago
What’s Next
Learn more about the product inside our product guides section: