OBS Studio Contribution Encoder
Introduction
OBS Studio is free, open source, easy to use encoder software to produce rich live content with lots of features. The software is popular among our customers for encoding live contribution streams.
OBS Studio is available on this page: Open Broadcaster Software
Note: At the time this tutorial was written, the OBS Studio version was 27.2.4. Other versions may differ slightly, but the principles are the same.
To use OBS Studio as a Contribution Encoder for Bitmovin, you will need to perform two steps:
- Set up the Live Encoding in Bitmovin Encoder
- Send the Contribution Stream from OBS Studio to Bitmovin Encoder.
Note: In this tutorial, we use OBS Studio to send an RTMP stream to Bitmovin Encoder. OBS Studio and Bitmovin Encoder also support the SRT protocol, which is out of scope of this tutorial.
Setting up the Live Encoding in Bitmovin Encoder
-
On your local machine, open a browser and log into your Bitmovin account.
-
Set up a Live Encoding in Bitmovin Encoder. You have multiple options to do this:
-
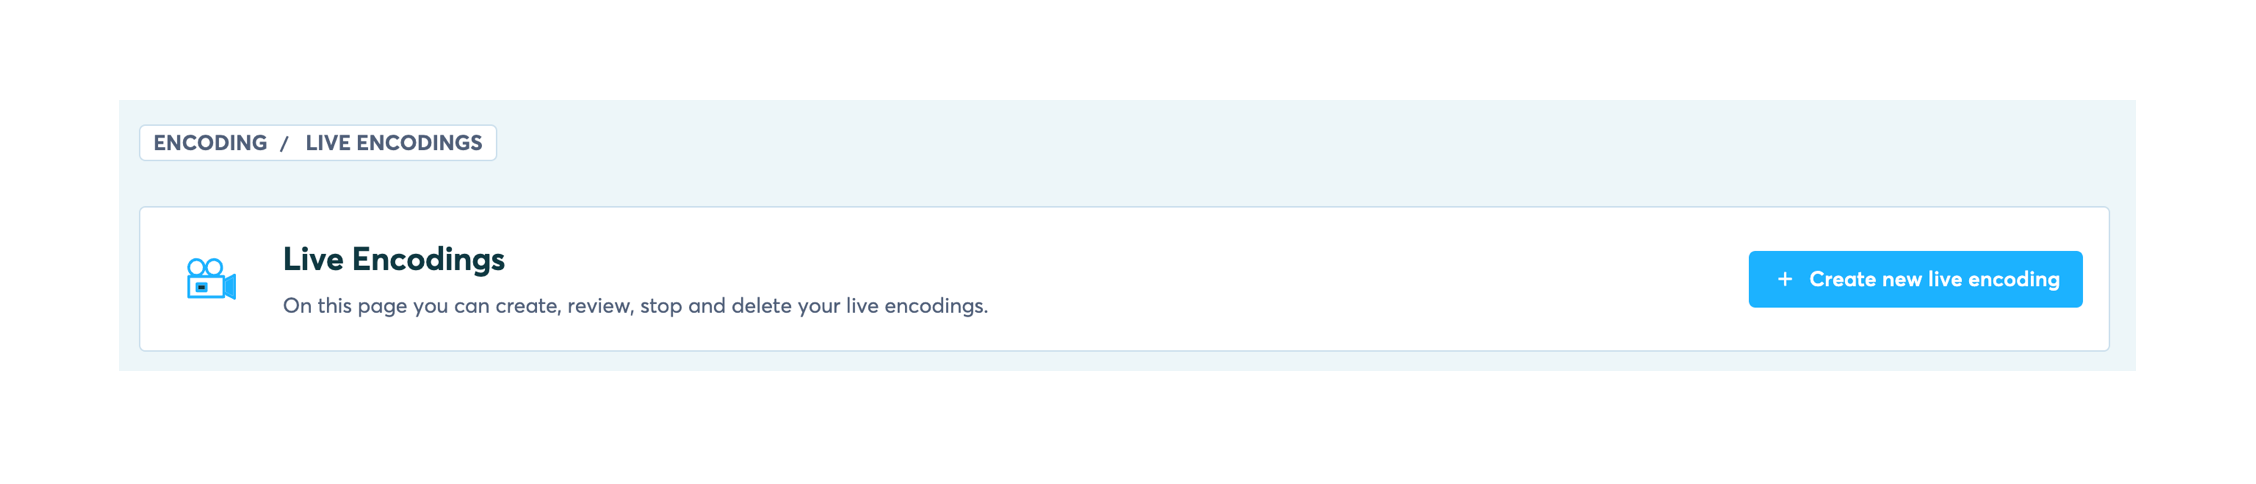
For a Quick Start, just open your Bitmovin Dashboard, go to ENCODING->Live Encodings and go through the wizard by clicking on the blue Create new live encoding button.
-
If you are already familiar with Bitmovin Encoder, you can also proceed according to this tutorial: Create a Live Encoding from an RTMP stream
-
-
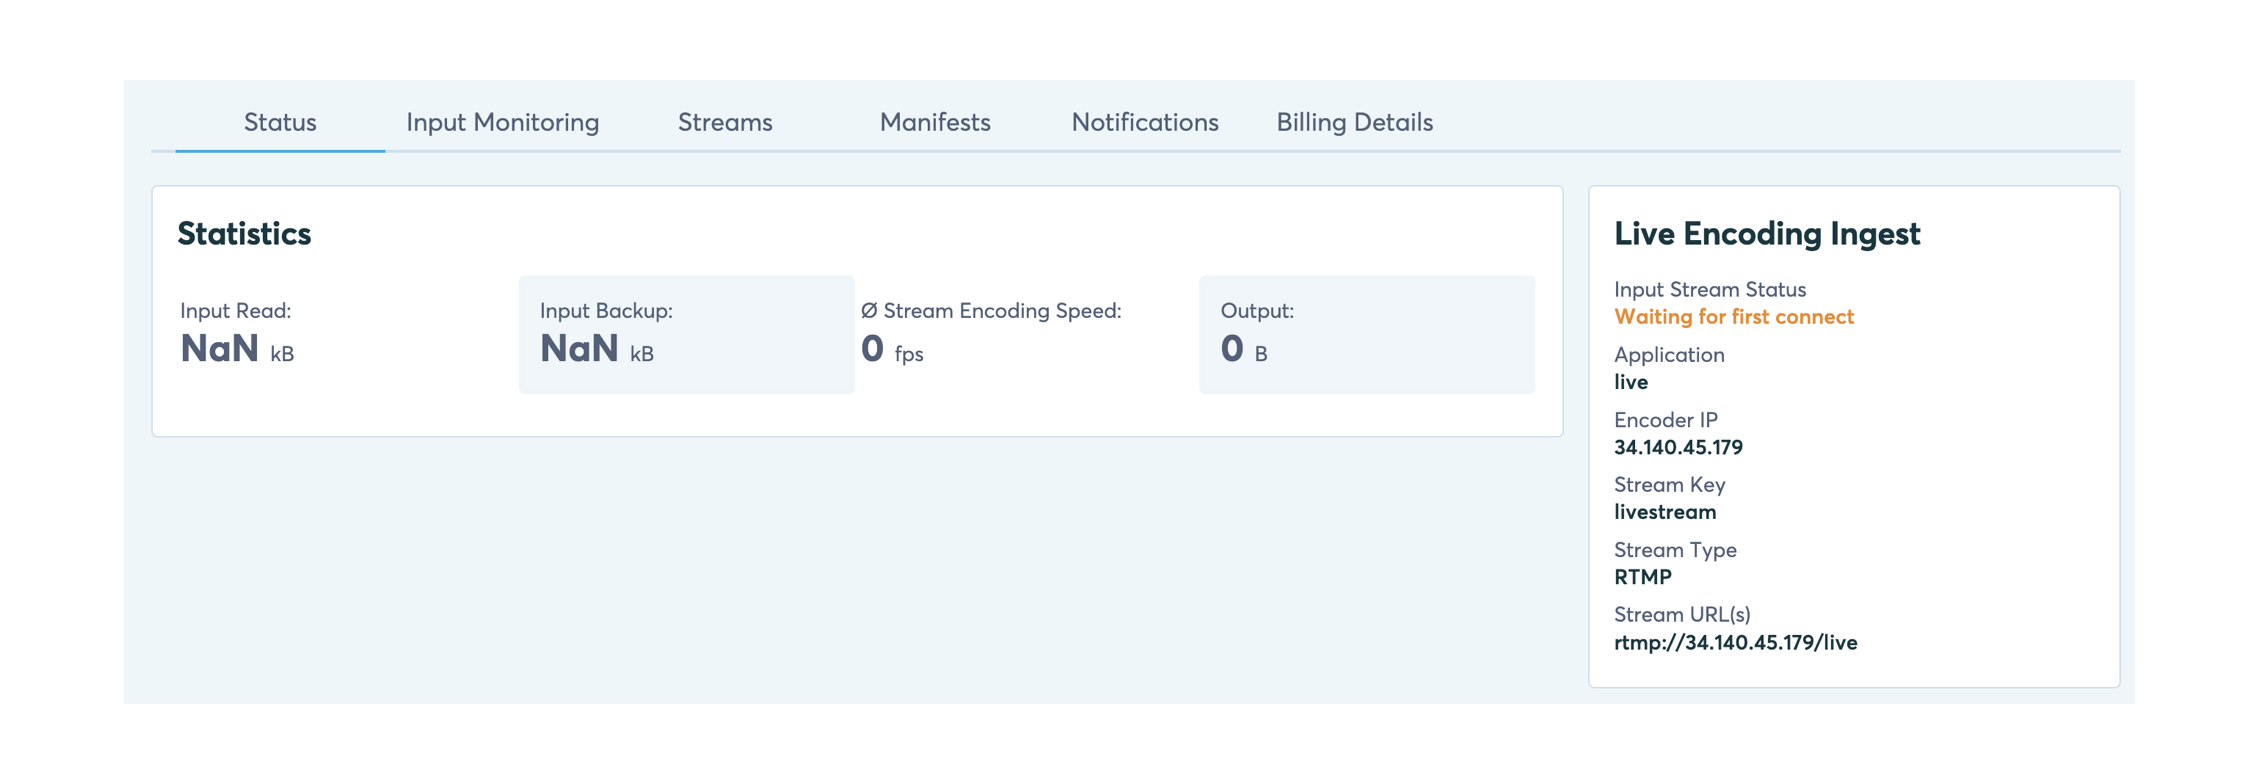
Now we need the Stream URL (e.g. rtmp://a.b.c.d/live) and the Stream Key of the newly started Live Encoding. To get them, in the dashboard, go to ENCODING->Live Encodings and click on the newest encoding in the list. This opens the encoding’s page with the Live Encoding Ingest section, in which you see the Stream URL and the Stream Key to be used going forward.
Send a Contribution Stream from OBS Studio to Bitmovin Encoder
- On your local machine, start OBS Studio. (If you start OBS Studio after a fresh install, it automatically opens the auto-configuration wizard. If this happens, just close the wizard).
- Open Preferences (or click on Settings on the bottom right). This opens the Settings Dialog.
- In the Settings Dialog, Click on Stream. This opens a dialog with three configuration options and one checkbox, see screenshot.

-
In this dialog, choose the following:
- As Service, choose Custom.
- As Server, type in or paste the Stream URL (e.g. rtmp://a.b.c.d/live) defined by the Bitmovin encoding.
- As Stream Key, choose the Stream Key that you got from your Live Encoding page.
- Leave the Use authentication checkbox unchecked (RTMP authentication is currently not supported by Bitmovin Encoder. If authentication is required for your production setup, we recommend using the SRT protocol).
-
Click OK to close the dialog
-
Now configure OBS to generate a Live Stream according to the manual, e.g. this Quickstart: Wiki - OBS Studio Quickstart | OBS . There are lots of tutorials and YouTube videos online that will be helpful learning OBS Studio.
-
Click Start Streaming to begin sending the OBS stream to Bitmovin Encoder.
-
If OBS shows a green light and the bitrate it sends (in its bottom right corner), then the stream is successfully sent to Bitmovin Encoder.

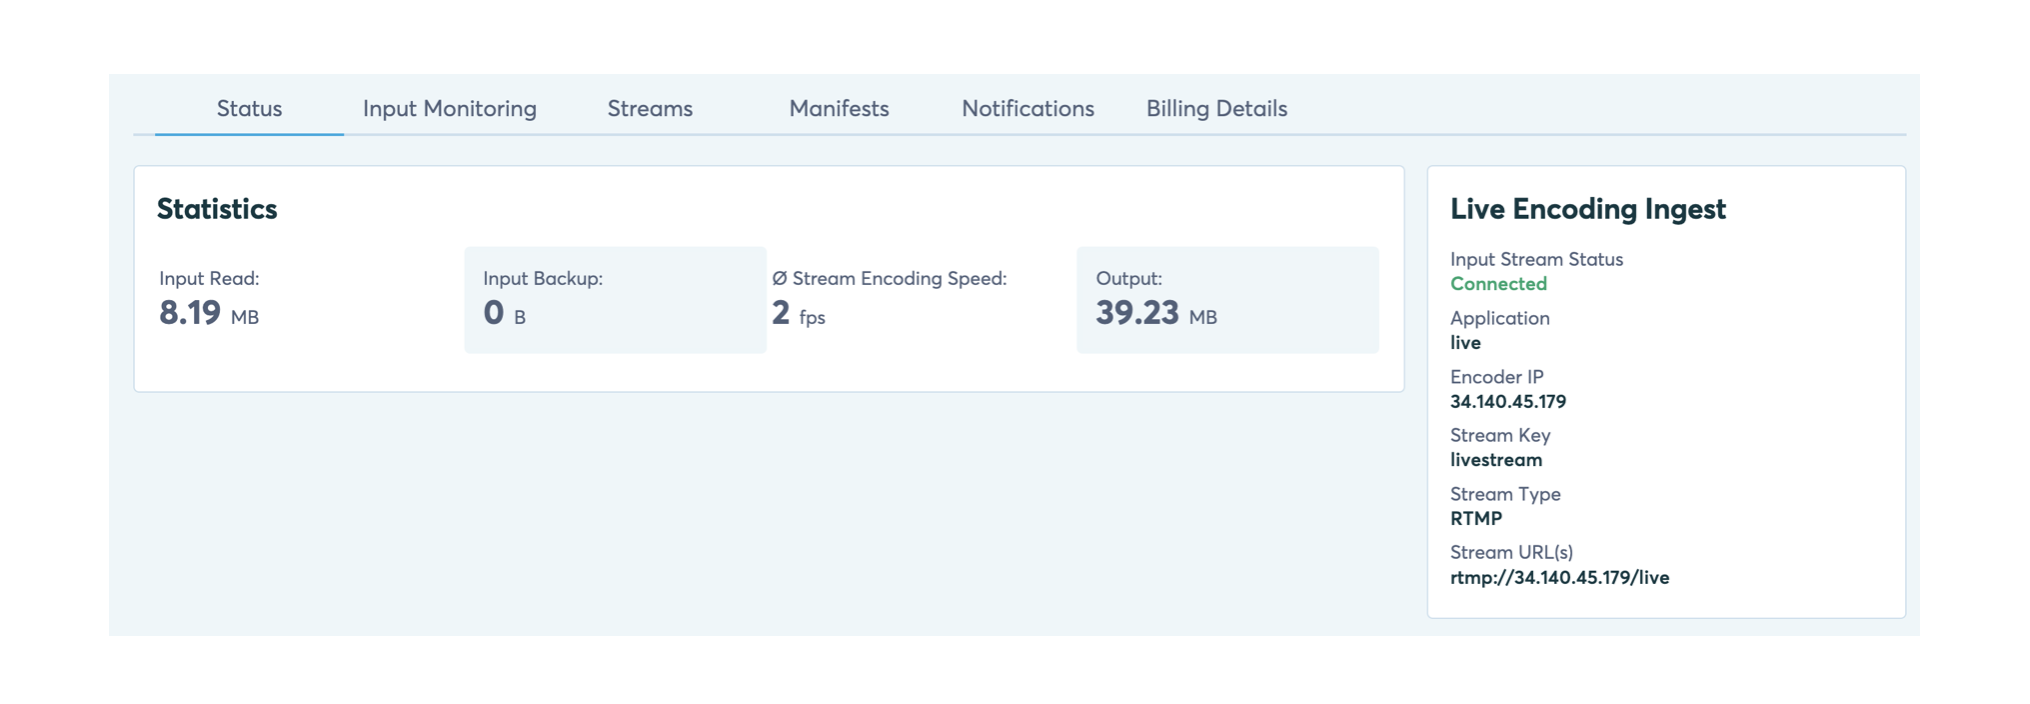
- Check in Bitmovin Encoder that the stream is succesfully received. Look at the Live Encoding Ingest section and verify that the Input Stream Status is Connected.
Note: If OBS Studio does not show a green light and the live stream is not received by Bitmovin Encoder, make sure the Stream URL is correct and you can reach the IP address from the computer running OBS Studio.