AWS S3 Access Key Live Outputs
Overview
Depending on the security policy your organisation has in place, you may be asked to provide Bitmovin with access to an S3 bucket with an Access and Secret Key pair. This guide will explain how to generate the keys, add permissions to the S3 bucket and then create and configure the output using the Bitmovin Dashboard or API.
This tutorial will walk you through the steps to: create an S3 bucket, configure it to your needs, generate access and secret key pair, attach it to an AWS IAM (Identity and Access Management) User with appropriate permissions to access the bucket and then create a Live Output resource in Bitmovin.
Create an AWS S3 Bucket
In the AWS Management Console, open the S3 section.
- Click on the Create Bucket button which starts the bucket creation wizard
- In the "Name and Region" panel, choose a bucket name (for example my-bitmovin-bucket) and a Region (for example (EU) Ireland)), then press Next
- Configure the Object Ownership depending on your needs a. ACLs enabled, this is required if PUBLIC_ACCESS is configured for Encoding outputs. Encodings that are started in our Bitmovin Dashboard set the PUBLIC_ACCESS to enable preview playback.
b. ACLs disabled. If this policy is used Encoding outputs need to be set to have the PRIVATE ACL. - Configure Block Public Access settings for this bucket a. The default settings will Block all public access b. To enable playback for manifests and files from the bucket, uncheck 🔳 Block all public access.
- Finish going through the wizard and click Create Bucket
- To allow players to request content for streaming from your S3 bucket, you will also need to allow origin access with a CORS configuration. See How can I configure an AWS S3 Bucket to test playback of my content? on how to configure this for your bucket.
Your bucket is now ready to be used.
Create an AWS IAM User
Next we need to create a user that will be accessing the bucket. We continue working with the AWS Console
-
On the left pane, click on "Access Management" -> "Users".
-
Click on Add User. The Add User page appears.
-
Step 1: add your desired User name.
-
Step 2: Permissions
a. Make sure the user has the right permissions to for Amazon S3
b. The easiest way to achieve this is AmazonS3FullAccess
c. In “Permission options” select “Attach policies directly”
d. In “Permission policies” filter and select AmazonS3FullAccess(Note: The pre-defined AmazonS3FullAccess policy is known to be suitable but since it provides unrestricted access to your bucket, you might need to create a custom policy with fine-tuned access rights. Please review details of the permissions required for buckets for Encoding Input and Output buckets and create a specific IAM Policy and associate it with this user as needed )
-
Go through the next screens - those settings are optional and do not affect the configuration.
-
On the last screen, press Create User
-
Select the newly created user in the Users overview
-
Select the “Security credentials” tab
-
Scroll down to “Access keys” and hit the “Create access key” button
-
Follow the “Create access key” steps
a. For “Access key best practices & alternatives” select “Application running outside AWS”
b. You need to securely store Access Key and Secret Access Key. You need to store them somewhere securely as you will need them later. Note that once you've left this screen, you will not be able to retrieve the Secret Access Key anymore and will need to generate a new one.
If you want to learn more about Users in AWS, please see their documentation.
Create an S3 Output
S3 input and output resources can be created via the Bitmovin API or in the Bitmovin Dashboard. The minimal required information to create an S3 input or output are the following :
bucketName: the name of your S3 bucketaccessKeyandsecretKey: the Access Key ID and Secret Access Key obtained earlier.
Using the Bitmovin Dashboard
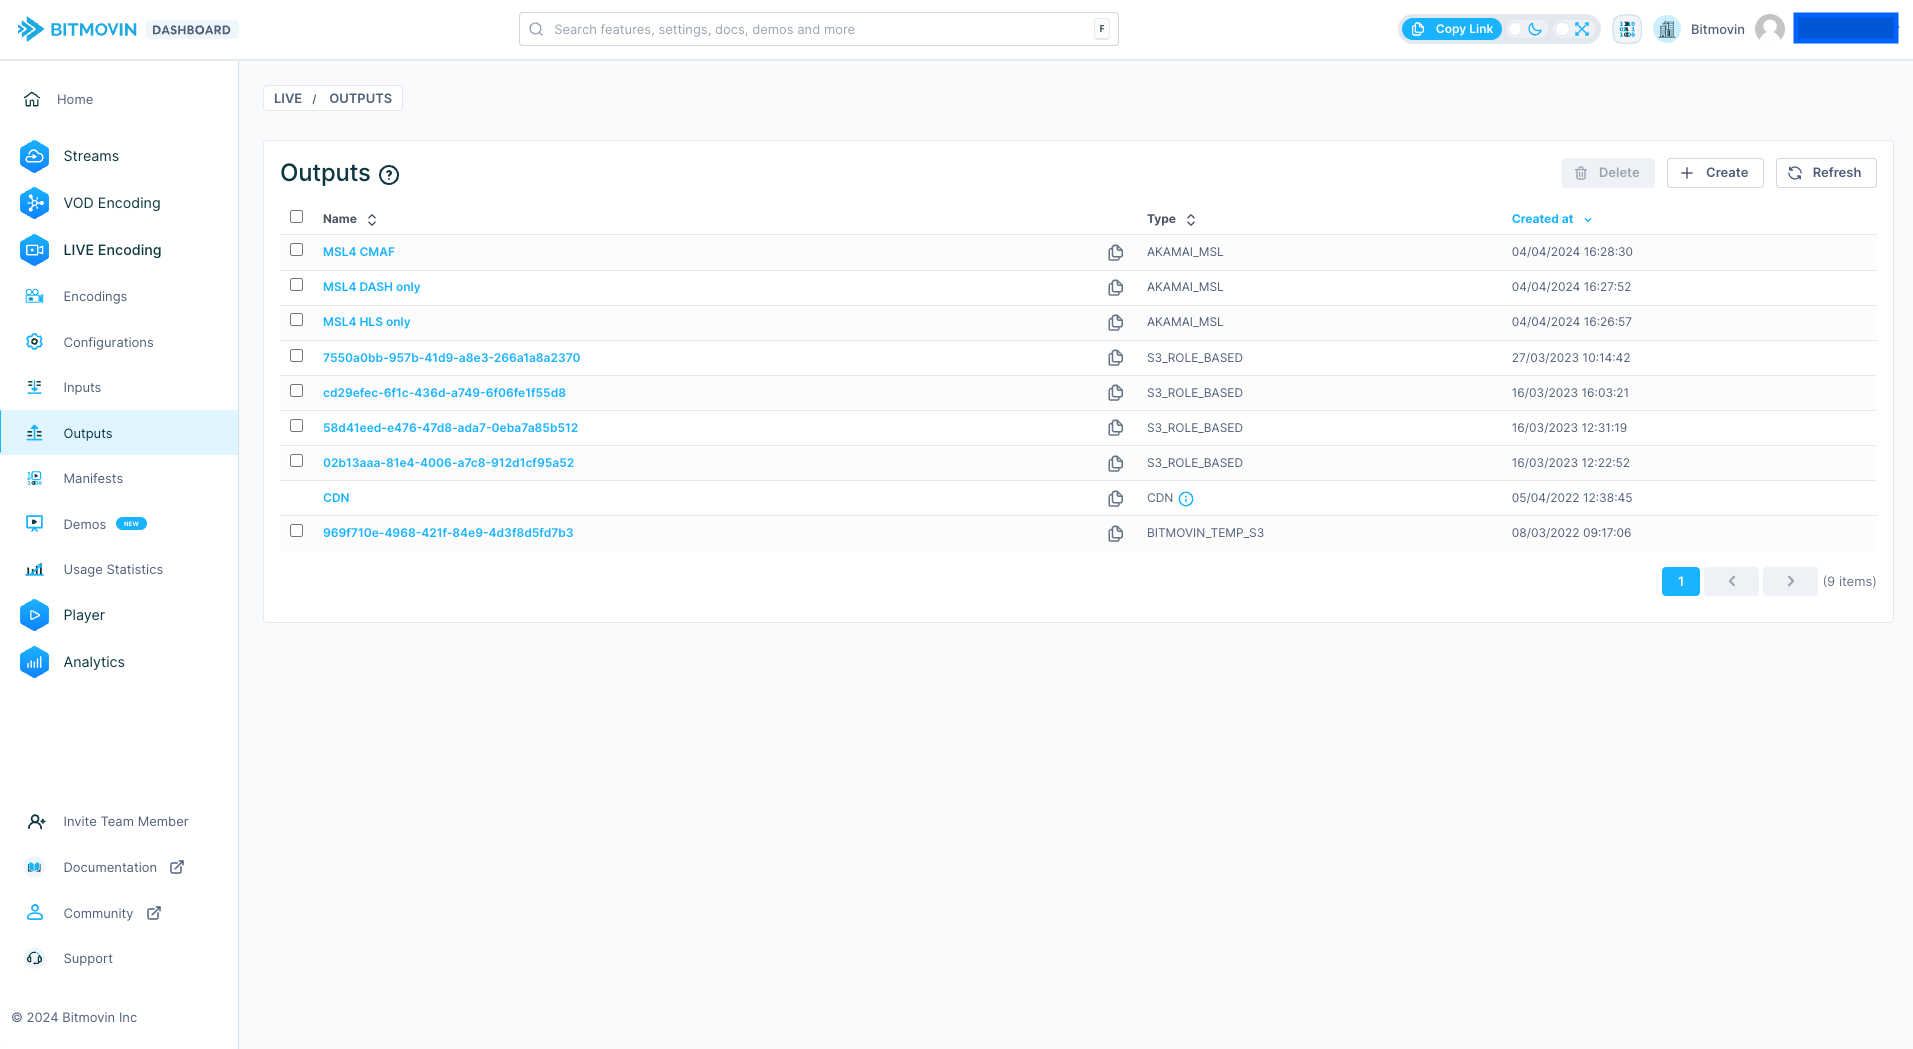
In the Bitmovin Dashboard navigate to Live Encoding -> Outputs
Press + Create and select AWS S3 and a form will be provided where you can enter a Bitmovin name, that can be freely chosen will be seen by users in the dashboard when selecting an output, as well as the details required from AWS. Optionally you can also provide a description, for other users or admins to describe the function of the live output.
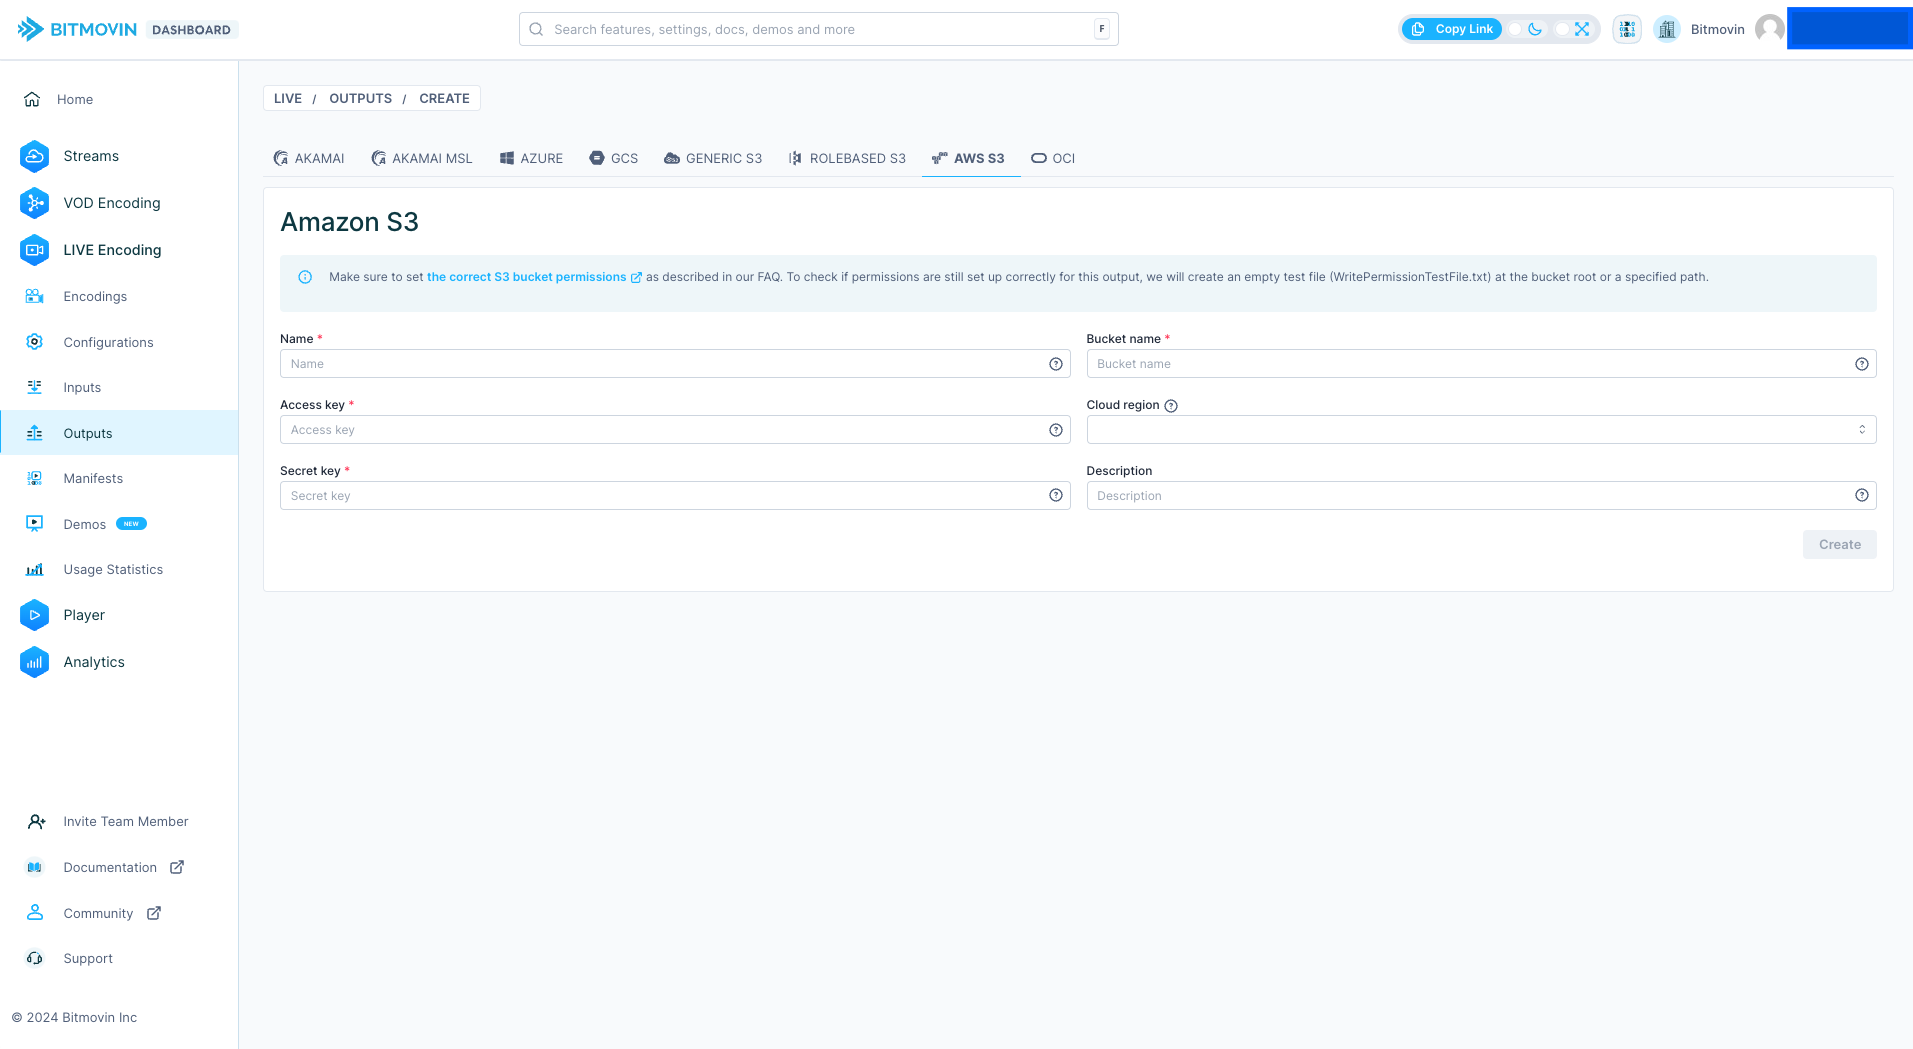
Remember to select the correct cloud correctly.
Once your happy press Create and the bucket will be saved.
Using the Bitmovin API
This example uses our latest Open API client for Java, which is available on Github.
(Java) S3 Output Example
Create a new S3 Output
bitmovinApi = BitmovinApi.builder().withApiKey("YOUR_BITMOVIN_API_KEY").build();

AclEntry aclEntry = new AclEntry();
aclEntry.setPermission(AclPermission.PRIVATE);

List<AclEntry> acl = new ArrayList<>();
acl.add(aclEntry);

S3Output s3Output = new S3Output();
s3Output.setBucketName("<BUCKET_NAME>");
s3Output.setAccessKey("<AWS_ACCESS_KEY>");
s3Output.setSecretKey("<AWS_SECRET_KEY>");
s3Output.setAcl(acl);

s3RoleBasedOutput = bitmovinApi.encoding.outputs.s3.create(s3Output);
Hint: In case you chose to enable Block public access on your S3 bucket (recommended), you would have to make sure that the ACL is set to PRIVATE on the output (as shown above) as well as on your Muxing configurations.
To create an Input is fairly similar, but you just use the S3Input resource and the bitmovinApi.encoding.inputs.s3 endpoint
Use an existing S3 Output
bitmovinApi = BitmovinApi.builder().withApiKey("YOUR_BITMOVIN_API_KEY").build();

S3Output s3Output = bitmovinApi.encoding.outputs.s3.get("YOUR_S3_OUTPUT_ID");
(CURL) S3 Output Example
Create a new S3 Output
API reference: create an S3 Output:
curl -X POST \
  https://api.bitmovin.com/v1/encoding/outputs/s3 \
  -H 'Content-Type: application/json' \
  -H 'x-api-key: YOUR_BITMOVIN_API_KEY' \
  -d '{
    "bucketName": "<BUCKET_NAME>",
    "accessKey": "<AWS_ACCESS_KEY>",
    "secretKey": "<AWS_SECRET_KEY>",
    "acl": [
        {
            "permission": "PRIVATE"
        }
    ]
}'
Get an existing S3 Output
API reference: get an S3 Output
curl  https://api.bitmovin.com/v1/encoding/outputs/s3/YOUR_OUTPUT_ID \
  -H 'Content-Type: application/json' \
  -H 'x-api-key: YOUR_BITMOVIN_API_KEY'
Using the Live Output
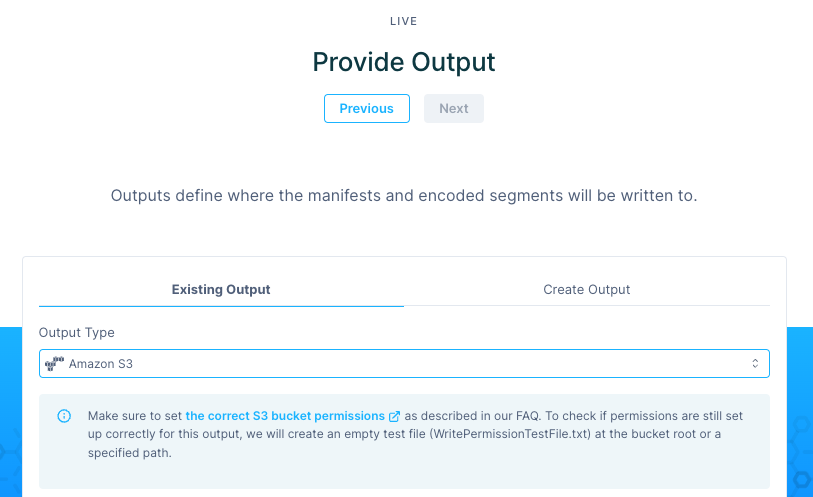
The bucket will appear in the Outputs list, and in the Wizard under AWS S3.
You can confirm the bucket is created in the API by using List S3 Outputs
Updated 6 months ago