Creating Live Standby Pools
Live Standby Pools are created through either the API or Dashboard. For first time configuration we would recommend using the Dashboard, but this guide will provide information on both methods.
Pre-Requisites
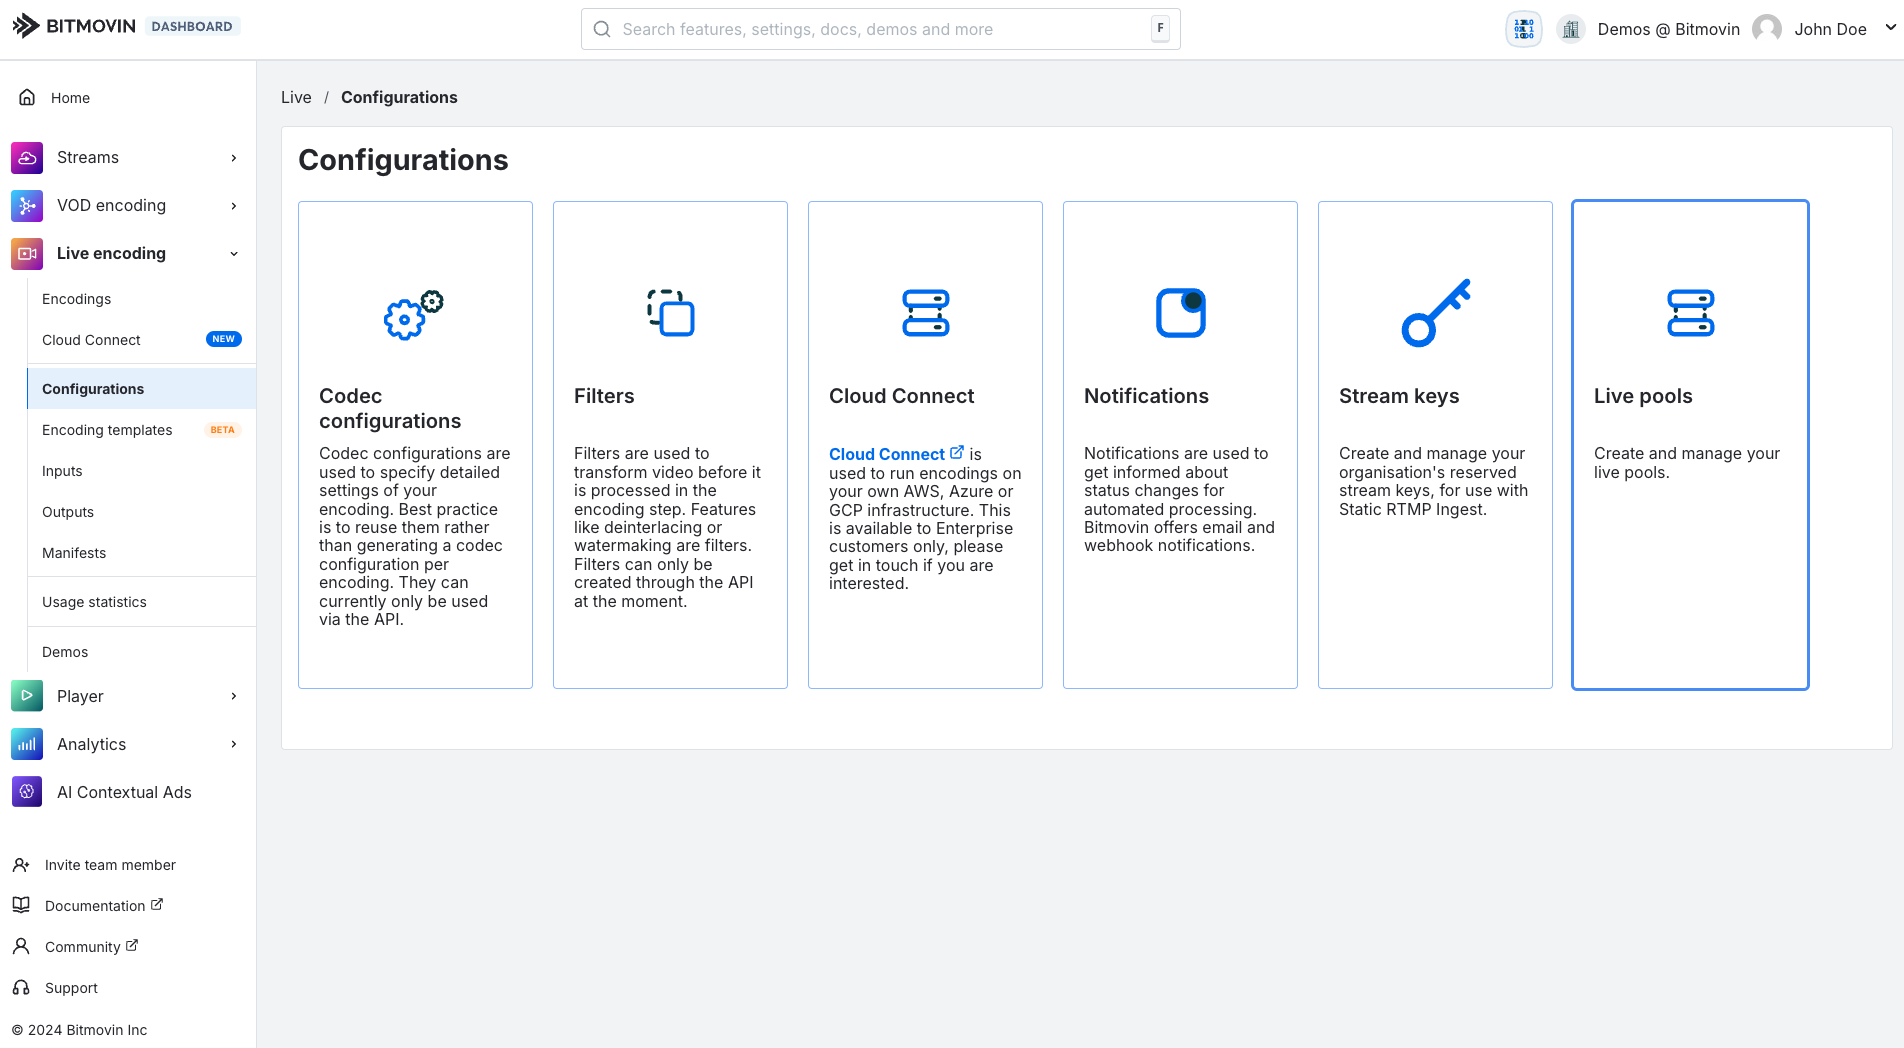
If the feature has been enabled you'll see a new option in Live Encoding -> Configurations -> Live Pools

If the Live Pools option can not be seen then the feature needs to be enabled, just ask your account team for this along with the required adjustments to the Account Limits.
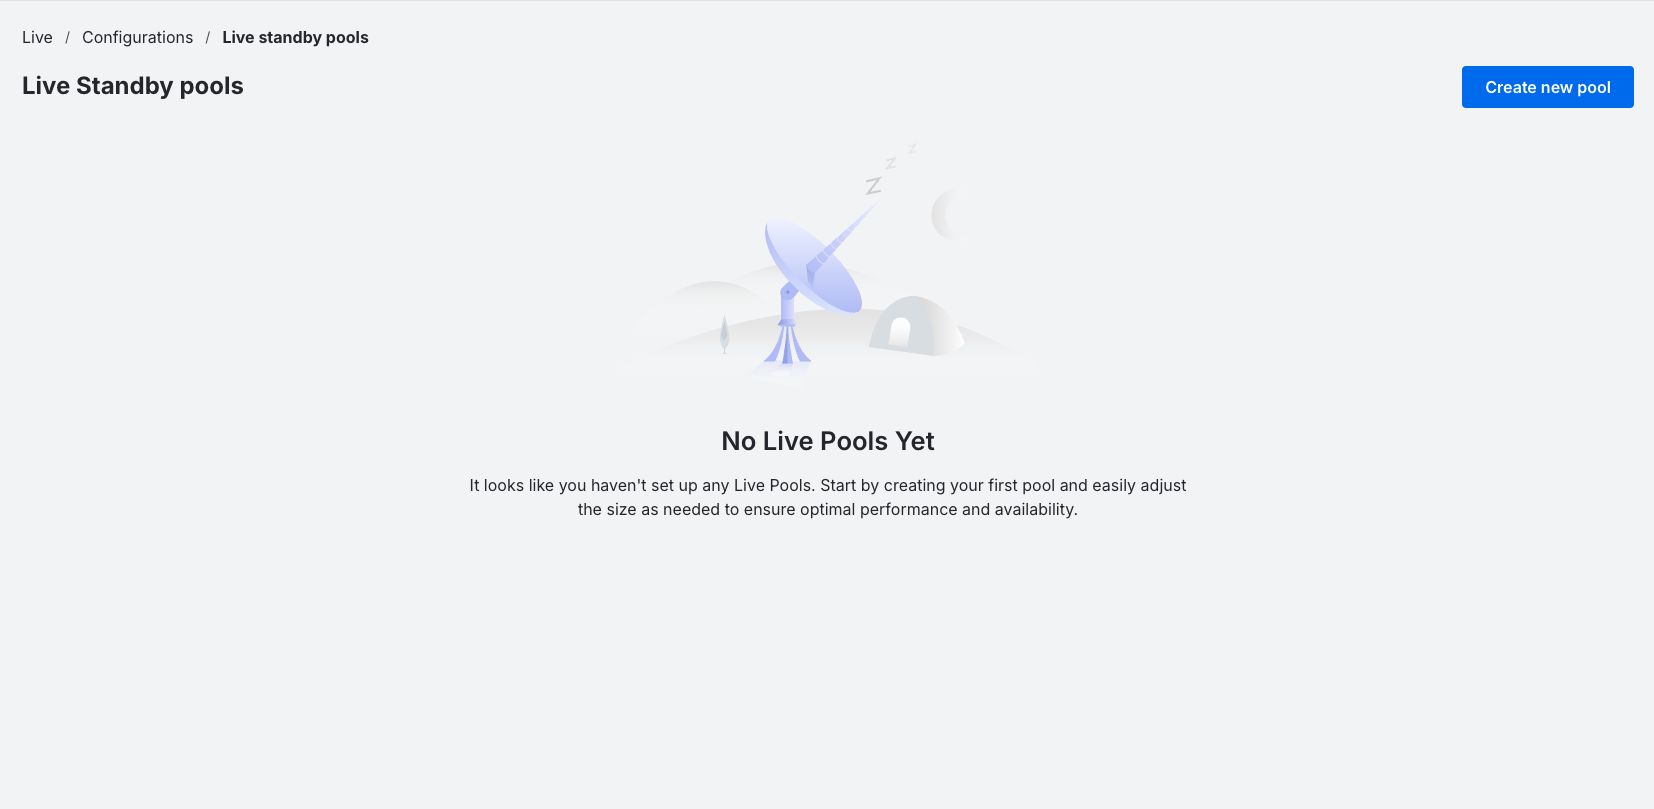
For now the page will look like this. Before creating a new pool, you will need to create a test an Encoding Template.

Creating and Testing a valid Encoding Template
Make sure you have first followed the guide on creating and testing a valid Encoding Template, the last thing you want to happen is to create a Live Standby Pool with multiple Live Encoders all going into error.
Create a new Live Standby Pool
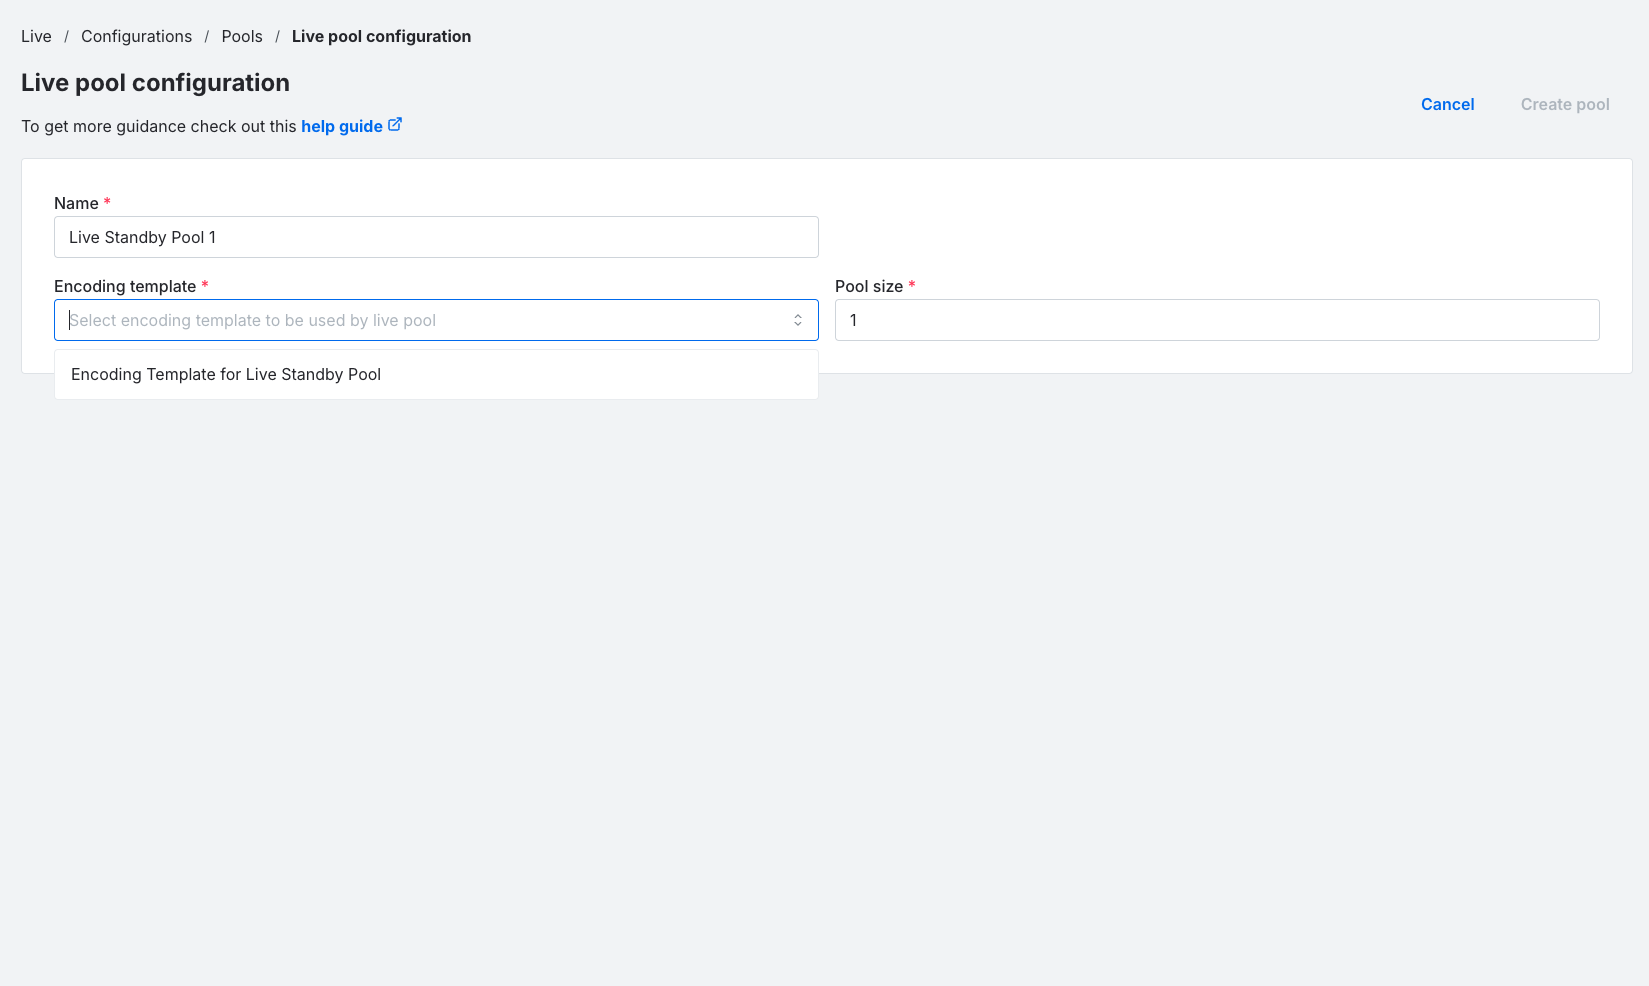
Using the Dashboard press Create new pool and you'll see the following form.

Give the pool a name, and set the pool size.
TipStart with a small pool size, these will be created as soon as the Live Pool is configured. We suggest starting with 1 or even 0. This number can be adjusted at any time.
Then select an Encoding Template, this should be one that was previously tested and validated to work correctly.
You will be encouraged to review the Template and approve before moving to the next step.
This operation can be done in the API using this endpoint - Create new standby pool
If you are successful then you'll be returned to the Live Pool screen and you're pool will appear in the object list in a healthy state.

If configured with a pool size of 1 or more a Live Encoding will immediately start and providing there are no errors enter a running state when the infrastructure is available.

Updated 7 days ago